Welcome to Our Home

For years people have come to my home and always been very complimentary. I always thought of it as more of a cordiality. Recently I took part in our neighborhood Christmas homes tour. Over 250 people came into my home. When I saw ladies taking pictures of my ideas, I realized that I truly do inspire others. Sometimes I come up with ideas, and my husband really thinks I'm taking things a step too far. Like 5 months after we moved into our brand new home, I wanted to paint all the fireplace wood work and mantle black. Well, 4 years later we still like it and show guests the 'before' photo. We are all inspired by something. So, as I share things on this blog, I hope you duplicate, improve and are inspired to take your decorating just one step further. Enjoy!

Monday, October 18, 2010

Asian + Americana = One Adorable Girly Room

Well, it has been 12 looonnngggg months and we are finally DONE with Nina-Li's room. With just a few days to spare, as we are going to China very soon. Here are before pictures. Not the best pictures, but this is when it was simply our homeschool classroom.


The photo on the left has a ledge. This room used to be a loft room. Once we knew we were going to need it as a bedroom we enclosed the room. However, continued to use it as a classroom until Bill was ready to transform the room. This ledge is now where her built-in bed is. Which you will see soon!
This photo shows the frame support for the built-in:

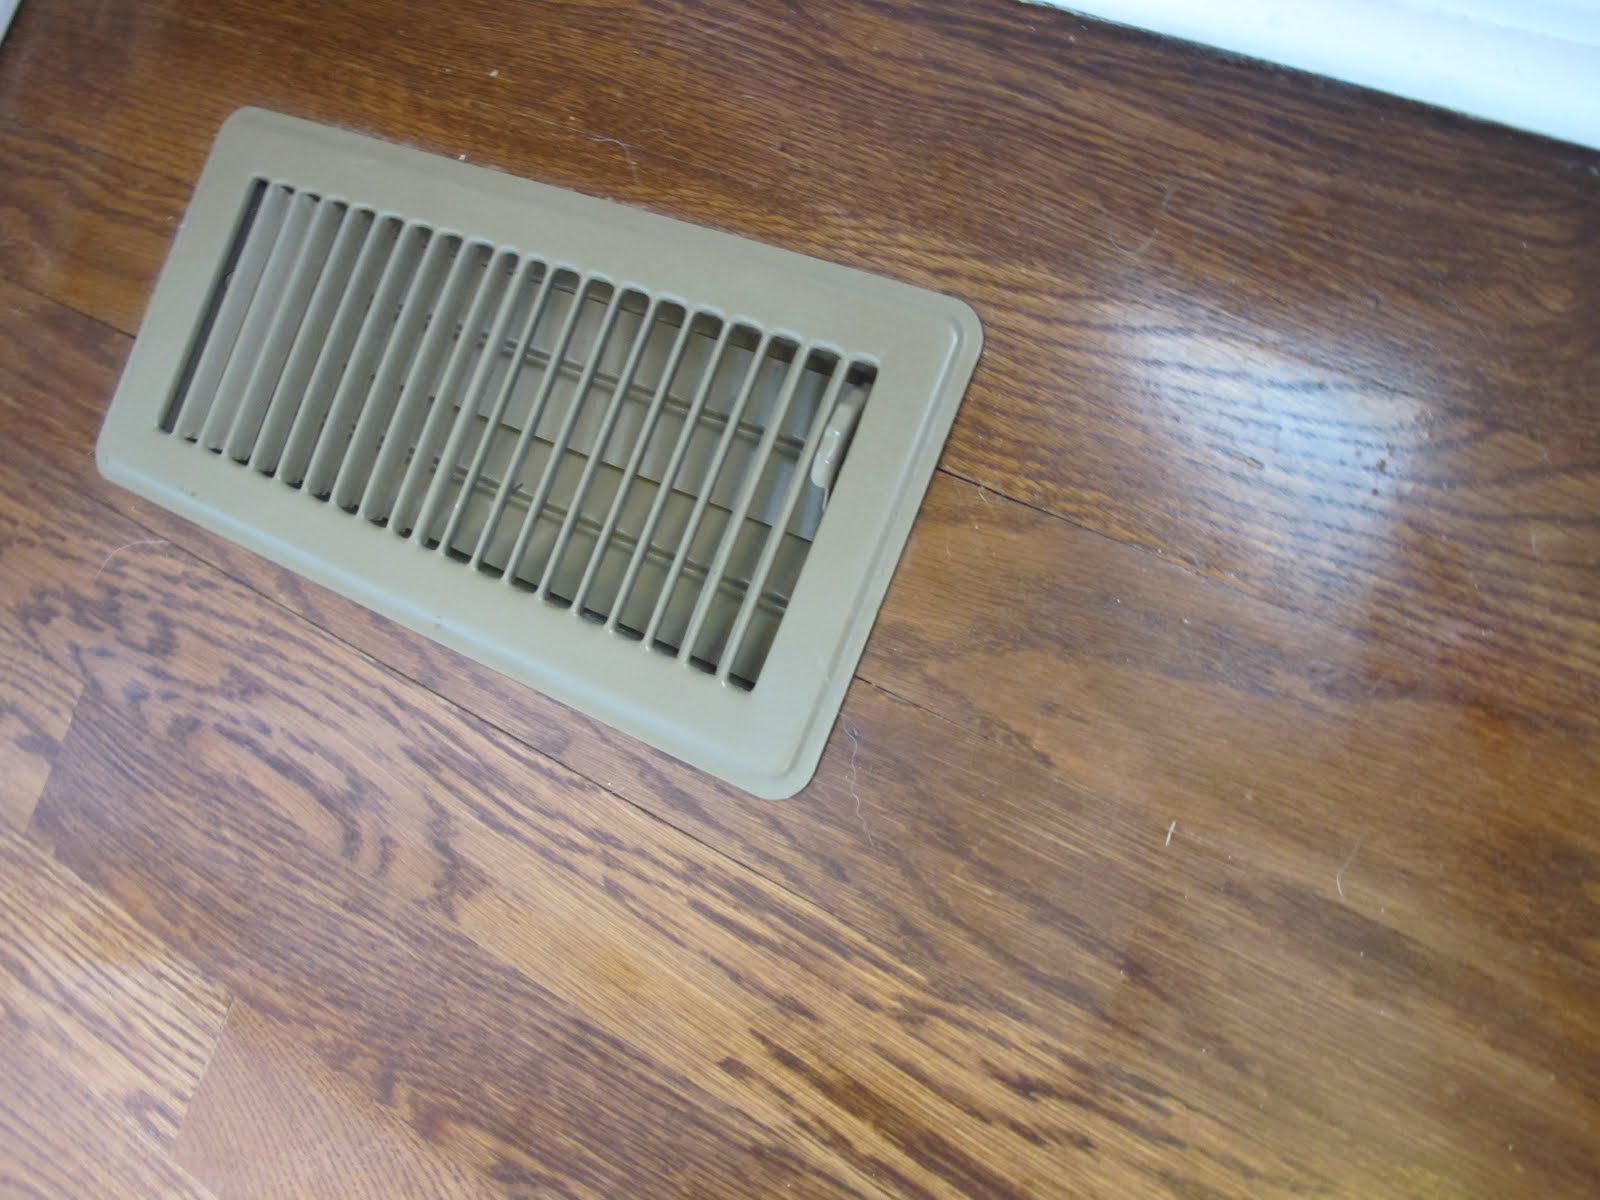
The boys helped Bill lay the hardwood. It's funny that it is the first thing to be done and the last. They laid the hardwood months ago, but staining it was the last thing we did. They did an awesome job.

We also added a type of trim to this wall. I don't know what you would call this, that tells you how much of a designer I am. But, I like it:

Well, I think that is enough of the before/during photos, let's get to the fun stuff!
Taaa Daaaa!
I LOVE THIS ROOM!


The Chinese Characters say: Hope Family Dream Miracle Inspire Peace
Nina's closet is oh so tiny. The little drape in the center is another 'closet'. The China doll that I didn't really get a good shot of, our Mandarin teacher gave us. He and his wife were so kind. I consider it a great honor that they were a part of all of this.
I tell my kids they cannot put stickers on the wall, and what I do, put stickers on the wall. Yet it is a perfect whimsical touch. I got these at IKEA when we were in Chicago. But, accidently left them there. Fortunately this must be a common practice because I called the store and they have a 'left behind' list. My stickers made the list, so on the way home to KC we stopped by IKEA and grabbed them. And I am OH SO GLAD I DID! Fun! Fun! Fun! And I love the ladder there, as if she is climbing a tree to bed.
Can you tell how much I love this fabric? It is the perfect tie in to all the colors, including the Red Thread print on her wall. I just went a little nuts using it I guess. But, I was thrilled when I found it.

The Red Thread print was actually the very first thing I bought for Nina-Li's room. The poem, which I will put at the end, is so fitting. I tried to find fabrics that went with the print and couldn't. I just prayed that somehow I would be able to tie it all in together, and with my favorite fabric, I think it works.
Thank you for humoring me in this post. I will finish with the poem:
Red Thread by Mark Searles
When a child is born, invisible red threads extend from the child's spirit and connect to all significant people who will be part of the child's life. A the child grows, the threads shorten, drawing closer those people who are destined to be together.

Monday, September 13, 2010

A Room With a View

Nina-Li's room has a view - of our street. Little privacy. So, when I was deciding what to do with her window treatments there were two objectives. One, to let the sunshine through. Two, to be able to close for privacy. So, I doubled up. I was inspired by the Spring 2010 BHG Do It Yourself Issue. There was an article in which someone used the CHUNKY PLAIDS to decorate with! Loved it. I was on a mission. Check it out:


I couldn't find the green, but found a shade of pink that I thought would do. The hunt for this plaid was crazy. I went to every store I could think of in our area that might have it. Searched on the internet for hours. FINALLY, I was chatting on Facebook one night and saw a little ad on the sidebar for fabrics. Went to it, and there it was!

First, I made simple curtains that I am using clip rings for to pull open and closed. Then, I used this picture to add a touch of daintiness that I just love!


I had every intention on making the white shades. Then, one day I was in Target and found two tie-up window shades marked down 75% to $3.74 each. I just had to narrow them and I took off the ties they had to make my own. I then added a dowel in order to create the same look that I find in the magazine. This made my work a lot simpler and more affordable.


I am very pleased with the end result! I love these window treatments. I hope Nina-Li enjoys them as well!

Saturday, September 11, 2010

Sitting Pretty

Well, I dragged another item home from Goodwill. Bill was a bit perplexed what in the world I was going to do with it. I guess I can understand that. Believe it or not I had a few different ideas of the possibilities. So, we began with this:

The back of it was stamped bunkbed. So it was a headboard of a bunkbed. I asked my sweety pie to cut the sides down so that the 'legs' were gone. And I toted it around the house. First I had it in my kitchen and thought it could be a mini wall hutch. I then took it upstairs and thought we could make it into a small table top coming out from the wall. Then, I took it to Nina-Li's room. I thought she might be able to use it as a wall shelf. However, on the wall it would fit on, it would be positioned too high for her to reach. Then, I remembered Bill saying he wanted Nina-Li to have a window seat, AHAA! I asked him what he thought and he said to go for it.
So, first I had to take apart the backing and some wooden type brackets that were on top. I then had to make it a deeper bench. It was only about 6 inches deep. I added a 1 x 8 that we had on hand. However, I used a 1 x 6 for the sides to widen the legs.


I then had to add blocks underneath the widened seat board to attach the beadboard backing I had. Although the bench itself is deeper, I didn't deepen the shelf. It's still the original 6" depth. Once the nail boards were set, I was able to insert the beadboard and attach it. I also added a center support piece to the back part of the bench as shown in the photo.

Once everything was built. (Which by the way, I got to use a few power tools: a circular saw, a miter saw and an air nailer.) I painted our bench black. I know, not very girly, but there is a lot of white in the built-in furniture Bill is building and it ties in everything...you'll see...eventually.


I had foam from little chairs the boys had when they were toddlers. I put it on top of the bench and covered it with this incredible fabric. I LOVE THE FABRIC. I also made little cushion and pillow for the rocking chair in her room out of it. I need to go get more because I have one more idea. Anyway, check out the end results:


Friday, July 16, 2010

The 3 R's

Well, summer is still going in full force. But, after 4th of July my mind begins preparing for the homeschool year. Since we are doing school at the kitchen table this year, (our classroom is now Nina's room (which is a good thing)), I wanted my only little BTS decor. So, I created this little diddy.

I took photographs to create step by step instructions. However, they are no where to be found. I downloaded at the same time I downloaded by hydrangea pictures from my previous blog. It's a mystery to me!
So, quickly, this is what I did if you are interested:
My materials were:
Scrap 2 x 4
Scrap scrap paper
Black Paint
Black Chalkboard Paint
Chalk
Photos
I first cut my 'books' to 3 sizes I thought would be proportionate to where they are going. I then cut 3 more blocks to stack to put the photos on.
After I cut the blocks, I printed my book 'titles' on scrapbook paper.
I then cut my paper down to fit each block and decoupaged it onto the block.
Once dry, I sanded the edges of all the blocks a bit. Then I applied antiquing polish by Folkart. I let it sit for about a minute and then wiped it off. This really does age everything and stains the wood that became exposed from the sanding.
The 3 r's block, I painted black, and then spray painted the front with chalk board paint.
Once everything was dry, I glued it all in place using wood glue. I then used double stick foam pads to adhere the photos on top of the blocks. And used my sweet neighbors chalk to write my little message.
Ta Daaaa. It was that easy.

Wednesday, July 14, 2010

Welcome to My Garden

The reason why I do this...


Is so I can have this...

Seriously, I love fresh cut flowers in my home. There is just something about enjoying the outside on the inside. Especially when the temperature becomes unbearable like today! When landscaping choose a few flowers that you will enjoying cutting and bringing in. These are my hydrangeas. For those of you who remember my Christmas trees from 2009, these are the same hydrangeas I cut and dry out and add to my Christmas tree every year! I also enjoy irises, peonies, lilacs, and sunflowers! Simple and easy!

Monday, June 28, 2010

Playing with Blocks

Yeah! I love holidays, and 4th of July is one of my husbands favorites. I think it has something to do with playing with explosives. I'm not one to decorate for the holidays other than Christmas and bit for fall. I'm not sure if it is because my sons do not really notice. Or, if I exhaust myself so much decorating for Christmas that the other holidays just kind of slide by. So, I am starting to make an attempt to put out a few things to honor holidays. When I saw this little piece from How Does She Do That (http://www.howdoesshe.com/cheap-home-decor) I knew I could do it.


I did a couple of things different. The original was made with vinyl lettering. I chose to print my words on scrap paper and cut each strip for the bottom of the flag. I also decided to use wood glue and glue my blocks together. After I made a few with "Happy 4th of July" I realized I prefered 'God Bless America' and therefore had to make a few with that on it too!


The 3 Joys I received:
1)This craft was right up my ally of cheapness! I had all the supplies I needed other than the ribbon. The ribbon I got from Wal-Mart (which I try to avoid, but I love this ribbon). You get 15 yards for $4.97. So far I have made 7 of these flags and still have more ribbon. So, I have spent about 70 cents a flag! Not bad.
2)The other enjoyment I received was using my husband's power saw. Oh such POWER!
3)My favorite joy is sharing this with my friends. I got to leave a few on doorsteps and kept them guessing for a little bit!

Thursday, June 24, 2010

Charging Station

Well, I have ANOTHER Goodwill find. I spied this at Goodwill for $4.99. I had it sitting on top of this bureau turned storage that is right by our kitchen, for a few weeks until I could figure out what color to paint it.

I finally decided on the color red. The same red I used for the shelving in the kids bathroom. I originally intended to change the little knob too, however, I kind of like it now.

I still need to set it up to charge our cell phones, etc. But, I think I like it. Not bad for 5 Bucks!

Sunday, June 13, 2010

Planked Out

I wish that I could find the inspiration piece that motivated me to make this. I got the original idea from Pottery Barn. Once I was ready to make it, I couldn't find the picture anymore, including online. (Which is why I need to make that inspiration book I want to make.) I want to make one bigger than this (maybe), but decided to keep it small for my first project. This was hung in our kids bathroom. I think it is a good compliment to their shower curtain I made (5 years ago!) Just like always, I have one more thing I want to make for this area. I just get so excited by my accomplishments, that I have to share them. Hope you like!


Tuesday, June 8, 2010

Vintage Keys

I can't believe I did it! I saw this wall art in the Pottery Barn catalogue and wanted to make is soooo badly! I believe it was priced around $329.


I wasn't about to go there, and I wanted to figure out a way to make it. I am not good at painting. REALLY! I know some of my friends don't believe me, but fine motor skills are not my thing!!! So, I was so excited when I found the tutorial on how to make it by Susie Harris. The linky is: http://www.susieharrisblog.com/2009/07/inspirationpass-it-on.html

My Vintage Keys artwork is 24 x 24 (The original at Pottery Barn is larger) and I followed the exact steps as the linked blog. The only thing that I think I did different than Susie was that I used an Antiquing Polish from Folk Art to age the artwork as the final step. I will upload a better image once I am completely done with the area that I set the artwork in. But, for now here's the finished product!!!!


I have another Pottery Barn knock-off that I made for our kids bathroom. As soon as I get photos I will post it. Pretty proud of the final results of it. Then, I have another piece of artwork I am about to start working on, using the same technique as the Vintage Keys. Now that school is out for this homeschool mom, I am trying to exercise my creative juices!!!

Sunday, April 4, 2010

(Semi)Custom Shelving by ME!


I picked up this little beauty at the thrift store for $10. I had three different ideas of what I could do with it, so I decided one of them had to work.
I think this might have been a hutch to a girls desk. Not sure. First, I took off the backing. I purchased a bead board backing for $10 and used the old backing to measure off the new backing to be cut down. Next, we cut down each side. Once the sides were cut down, my husband showed me how to use a power hammer (I don't know what it is really called), wish I had a picture of that, it was fun. I then attached the new bead board backing to the shelves. My son lightly sanded the unit for me. I then spray painted the shelves in a Colonial Red.
I mentioned that I had three options of what I may do with my new shelving. The first idea was to use it as a hutch on a small cabinet I have, but it was too wide. Then I thought to put it in our daughter's room that is coming home from China later this year. I finally decided that since we were going to have 3 kids sharing a bathroom instead of two, that we needed more storage in the kids bathroom. And so, taa daa, that's where it ended up. Right by the bath tub so the kids can get what they need quick and easy and scrub-a-dub-dub!

Monday, March 29, 2010

Ya Gotta Love Spray Paint

In November, my huband Bill worked very fast and hard on laying hardwood floors in our living room. We love them. He did a great job. However, our builder's grade floor vents really looked out of place. Bill mentioned that 'some day' we will get brass floor vents. Well, someday may or may not come. In the meantime, I got this tip from a website I visit off, www.thriftydecorchic.com I decided to go get some Oil Rubbed Bronze spray paint and turn my boring builders grade vents into something that is a step up in the right direction. Check it out, the before and after:


I just realized these photos are in my entryway and you cannot see the hardwood Bill did. So, here's a glimpse of his handy dandy work.

Tuesday, February 23, 2010

Sneak Peek's Into Our Little Girl's Bedroom


We have completely moved our homeschool classroom out of our 4th bedroom. Here are some shots of our classroom. Respectively moved to our dinner table.
Here are the 'Sneak Peek' photos of Nina-Li's room.
What in the world am I thinking with this crazy color????

And then I am adding this color...what color is it???...Pink...Red....????

I was in Joann's and I couldn't resist this little daintiness to add to Nina-Li's room. It's just about as girly as you can get. Wahoo!

So, we let Dawson loose in Nina-Li's room. He is quite handy with tools. But, what in the world is going on here...???

To be continued. . .

Saturday, February 13, 2010

Dates Are For More Than Just Calendars

I've been feeling very craft lately, and haven't had the time between adoption paperwork and homeschooling. Well, one of my good friends 40th birthday was just enough to satisfy my appetite to create. I was inspired by two blogs:
It's a Strange and Lovely Ride http://strangeandlovelyride.blogspot.com/2010/01/guest-bathroom-facelift-part-2.html
Susie Harris http://www.susieharrisblog.com/

The first blog is what gave me my idea. She created wall art with numbers and included her anniversary date. She referred to Susie's blog on how to paint and transfer numbers that you print off. When I saw this, I knew right away who to make it for. My friend Julie was embracing turning 40, celebrating that 10 years ago she wasn't sure if she'd ever have children and then suddenly had 4 in 4 years. So, I decided to make her wall art that celebrated significant milestones in her own life.

Remember these?
This is a calendar frame, I'm guessing from about 7 or 8 years ago. I remember receiving one myself for Christmas. I got this for $2.99 at Goodwill. I then added slats of wood that my father had. He cut them down for me and I painted them black.


After inserting them and securing them with a staple gun, I began to lay-out numbers and transfer them like Susie Harris suggested.


I then painted in the numbers and taa-daa! The end result:


Each number is a birthdate and wedding anniversary. Julie loved it. I hope to explore more possibilities using this technique and Susie Harris' blog.
Soon we will begin our daughter's bedroom. She is still in China, but we hope to bring her home within 6 months or so. We will share these updates soon. Right now our classroom is in her room and I am almost done moving everything out.